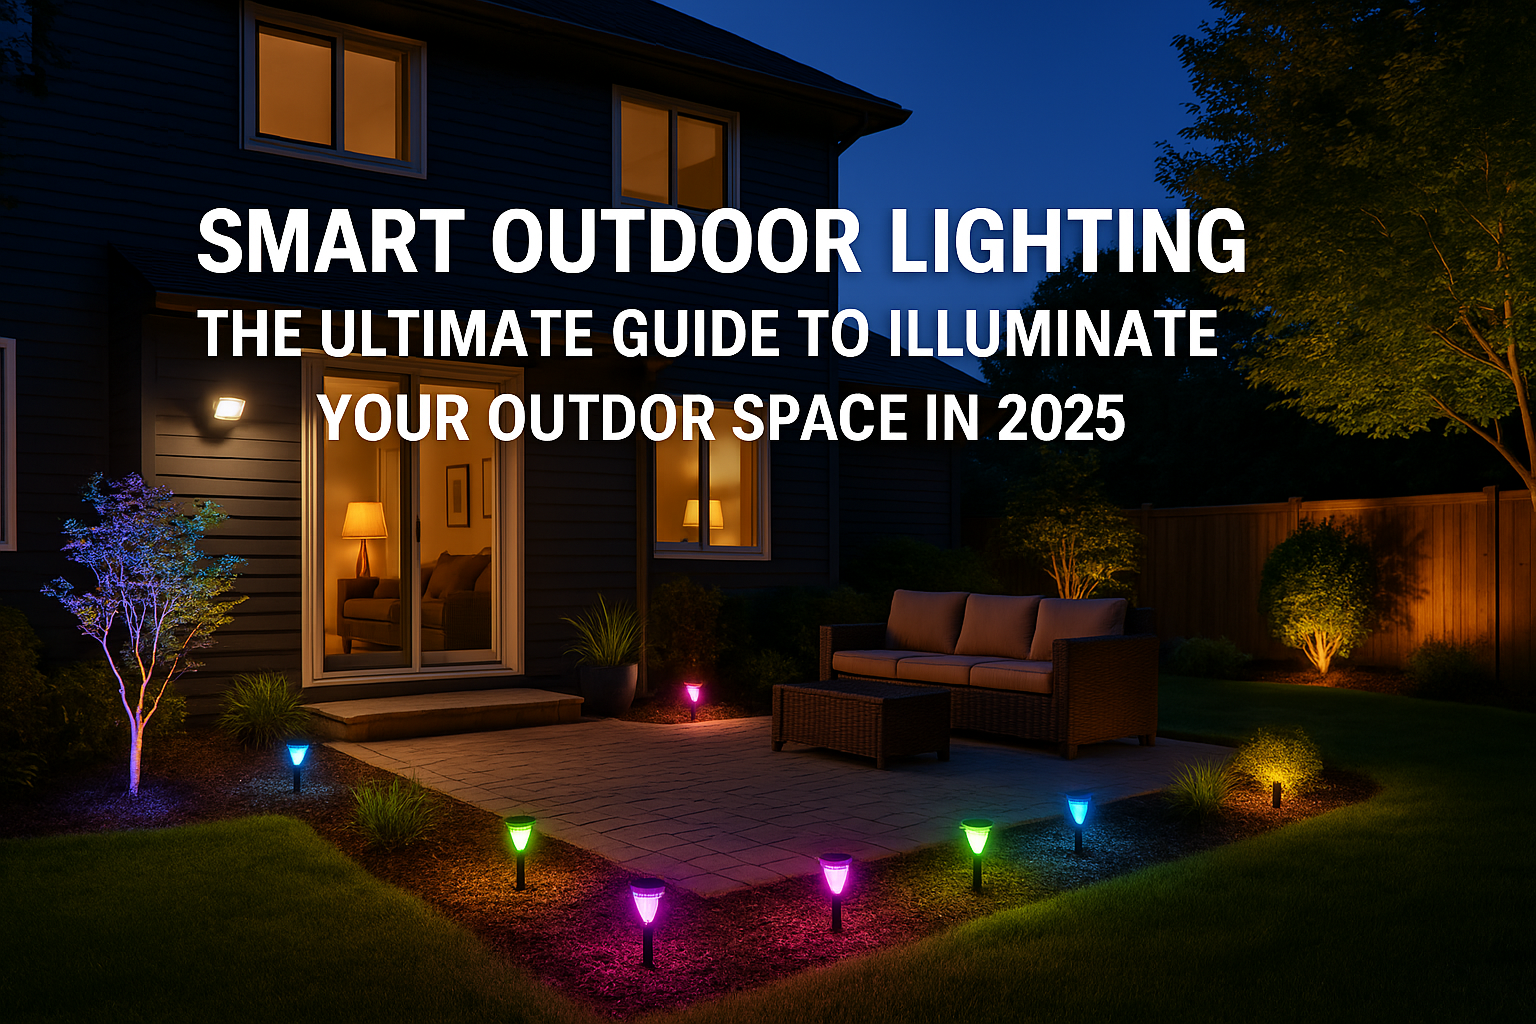
Smart home enthusiasts and Apple users, rejoice! If you’re looking to elevate your home automation game, integrating HomeKit-compatible light sensors is a no-brainer. Not only do these devices blend seamlessly into the Apple ecosystem, but they also help optimize energy usage, improve security, and create personalized lighting ambiances that cater to your everyday routines.
This guide will walk you through the benefits of HomeKit light sensors, outline must-have features, highlight the best options on the market, and offer step-by-step instructions for setup, so you can make the most of this smart home innovation.
Why Choose HomeKit-Compatible Light Sensors?
Apple’s HomeKit platform ensures that your smart light sensors offer a seamless user experience while adhering to the highest privacy standards. Here’s why choosing HomeKit-compatible devices is a smart move for Apple enthusiasts.
1. Seamless Integration with the Apple Ecosystem
Control your lights effortlessly via your iPhone, iPad, Apple Watch, or Siri. Whether you’re using voice commands like, “Hey Siri, dim the lights,” or automating them with the tap of a button in the Home app, HomeKit sensors feel like second nature for Apple users.
2. Privacy and Security
Apple is renowned for putting user privacy at the forefront. HomeKit devices are built on a secure foundation, offering end-to-end encryption that ensures your connected smart home is as private as your locked iPhone.
3. Automation through the Home App
Using the Home app, you can create rules like turning on soft lighting when motion is detected after sunset, or automatically switching lights off during daytime hours to save energy. This level of customization makes managing your smart home an effortless experience.
Top Picks for HomeKit-Compatible Light Sensors
With so many options on the market, it’s essential to choose a light sensor that fits your needs, whether you’re prioritizing advanced features, cost-effectiveness, or stylish design. Here are the best HomeKit-compatible light sensors currently available.
1. Eve Motion Sensor
- Key Features:
- Advanced Bluetooth + Thread support for stronger connectivity
- Motion and light detection
- Trigger automations via the Home app
- Why it’s great:
Eve’s sensor is user-friendly, wireless, and fully integrated into the Apple ecosystem. Plus, it gets frequent firmware updates for enhanced performance.
2. Philips Hue Motion Sensor
- Key Features:
- Requires the Hue Bridge for HomeKit integration
- Precise motion detection and ambient light sensitivity
- Battery-operated for flexibility
- Why it’s great:
Combine this with other Hue products to create a fully immersive lighting setup. Great for existing Phillips Hue users.
3. Aqara Motion Sensor P1
- Key Features:
- Affordable without compromising reliability
- 5-year battery life
- Wide detection range (170°)
- Why it’s great:
This budget-friendly option works seamlessly with HomeKit while offering customizable sensitivity thresholds to avoid false activations.
4. Fibaro Motion Sensor
- Key Features:
- Advanced multi-sensor detecting motion, light, and even temperature
- Compact and sleek design
- Highly responsive with extended range
- Why it’s great:
With its futuristic design, this device is ideal for tech enthusiasts looking to combine aesthetics with functionality.
5. VOCOlinc Smart Sensor
- Key Features:
- Budget-friendly for beginners
- Easy-to-use HomeKit integration
- Decent motion detection capabilities
- Why it’s great:
Perfect for those just starting their smart home journey and who want reliable performance without breaking the bank.
Features to Consider When Choosing a Sensor
Before clicking “Add to Cart,” make sure to evaluate the following features to find the best HomeKit sensor for your needs.
1. Motion and Ambient Light Detection
A good sensor should accurately detect both movement and light levels to adjust your lighting automatically based on room occupancy or natural daylight availability.
2. Range and Responsiveness
Look for sensors with a wide detection range and minimal response time to ensure reliable functionality, even in large or dynamic spaces like living rooms or hallways.
3. Battery Life
Long-lasting batteries (3–5 years on average) mean less time spent on maintenance. Bonus points for sensors with battery-level indicators.
4. Compatibility with Other Smart Devices
Ensure your light sensors can integrate with other smart gadgets like plugs, cameras, or thermostats for a fully-connected home. This makes it easier to create cohesive automation.
How to Set Up a HomeKit Sensor in the Home App
Excited to get started? Follow this step-by-step guide to connect and configure your new light sensor in the Home app.
1. Unbox and Place the Sensor
Position the sensor in the room where you need it. Ensure it’s within range of your HomePod, Apple TV, or another HomeKit hub for consistent connectivity.
2. Open the Home App
Launch the Home app on your iPhone, iPad, or Mac.
3. Pair the Device
Scan the HomeKit pairing code located on the sensor or its packaging using your device’s camera.
4. Name and Assign the Sensor
Give your sensor a name (e.g., “Living Room Sensor”) and assign it to a corresponding room in your Home app setup.
5. Create Automations
Use the Home app to set up automation, such as “Turn on hallway lights when motion is detected after 8 PM.”
6. Test the Setup
Walk past the sensor to confirm it’s functioning correctly and adjust settings as needed.
Why Smart Lighting is Worth It
From reducing energy bills to enhancing home security, integrating smart light sensors into your HomeKit ecosystem offers tangible benefits.
- Real-world case: A family saved 30% on their energy bill by automating lights to turn off in unoccupied rooms and dim during peak daylight hours.
- Home security improvement: A homeowner set up motion-activated outdoor lights to deter intruders, receiving timely alerts via their iPhone.
- User convenience: Apple users found Siri commands and Apple Watch controls incredibly intuitive for managing home lighting.
Elevate Your Smart Home with HomeKit Sensors
Transforming your home doesn’t have to be complicated. Start simple—with one HomeKit light sensor for a single room, and expand over time to create a fully automated, energy-efficient smart home.
Interested in taking your lighting automation further? Click here to explore more ways to build a smarter, cozier home with HomeKit-compatible devices.
FAQs
Do all smart light sensors work with Apple HomeKit?
Not all light sensors are HomeKit-compatible. Check for the HomeKit badge on the product packaging or description to ensure compatibility.
Can I control HomeKit light sensors with Siri?
Yes! You can use Siri voice commands to control HomeKit-compatible sensors and their connected automation.
What is the best budget HomeKit light sensor?
The Aqara Motion Sensor P1 and VOCOlinc Smart Sensor are excellent budget-friendly options without compromising quality.
Is a HomePod required for HomeKit automation?
While not required, a HomePod, Apple TV, or iPad is necessary to use advanced automations and remote access features.