Where to Install Smart Light Sensors in Each Room for Maximum Efficiency

Smart light sensors are a game-changer for anyone looking to improve energy efficiency and convenience at home. By controlling your lights automatically based on motion or ambient light levels, these sensors make your daily routine seamless while cutting down on energy usage. However, their efficiency depends on where you place them. Strategic placement ensures they work effectively, optimizing your smart lighting setup and making your home smarter.
In this guide, we’ll walk you through the best light sensor placement strategies for each room, share general installation tips, and highlight common mistakes to avoid. Whether you’re new to smart home automation or a tech-savvy homeowner, this room-by-room sensor guide will help you take your lighting automation to the next level.
General Installation Tips
Before we break things down room by room, it’s helpful to understand a few key principles for installing smart light sensors effectively:
- Sensor Range and Angle
Each smart light sensor has a specific detection range and angle. For example, many motion sensors can detect movement up to 20–30 feet away within a 120-degree field of view. Be sure to check the manufacturer’s specs to understand your sensor’s capabilities. - Installation Height
Most sensors perform best when installed at a height of 6–8 feet. This height allows them to pick up motion within their designed range accurately. - Avoid Obstructions
Place sensors where their view won’t be blocked by furniture, curtains, or plants. Blocked sensors won’t detect movement effectively, reducing their usefulness. - Position for Natural Light Control
For ambient light sensors, position them to avoid direct sunlight or shadows. This ensures they respond appropriately to the overall brightness in the room.
Now that you know the basics, let’s get into the best places to install smart light sensors in each room of your home.
Best Locations by Room
Living Room
The living room is a high-traffic area, so your sensor placement should cover a broad zone while minimizing false triggers.
- Install the smart light sensor near the main entrance or slightly off-center in the ceiling for maximum coverage. This ensures the lights turn on as soon as someone enters the room.
- Avoid pointing the sensor directly at windows or the TV to prevent unnecessary activation from outdoor movement or screen glare.
For instance, if you enjoy movie nights, consider pairing sensors with dimmable lights to create a cozy, automated atmosphere.
Bedroom
Smart light sensors in the bedroom can enhance your morning and evening routines without disrupting your sleep.
- Install sensors near the doorway to detect motion when entering or exiting the room.
- Add a secondary sensor near your bedside if you want dim lights to activate during nighttime trips to the bathroom.
- Use a time-based setting or motion sensitivity adjustments to ensure the lights don’t turn on too brightly during the night.
Kitchen
The kitchen requires strategic light sensor placement to account for multiple work zones.
- Install a sensor near the room’s main entry to ensure the lights turn on as soon as you walk in, especially with your hands full.
- For larger kitchens, consider additional sensors under cabinets or near frequently used areas like the sink, stove, or island.
Proper light placement in the kitchen is not just convenient but also improves visibility, which is vital for meal preparation and cleaning.
Bathroom
Bathrooms are ideal for automated lighting, especially for hands-free activation in the morning or at night.
- Mount sensors near the doorway to detect motion when you enter.
- For larger bathrooms, place additional sensors in areas like the vanity or shower zone for focused lighting control.
- Choose moisture-resistant smart light sensors for this room to ensure long-term durability in a humid environment.
Pro tip: Set sensors to activate low light levels at night to avoid harsh brightness when using the bathroom.
Hallways & Entryways
Hallways and entryways are excellent candidates for smart light sensors, as they’re typically used as transitional spaces.
- Place sensors at both ends of the hallway for seamless lighting as you move through.
- For staircases, install sensors at the top and bottom of the stairs for consistent illumination.
By automating these areas, you’ll save energy and make them safer, especially at night.
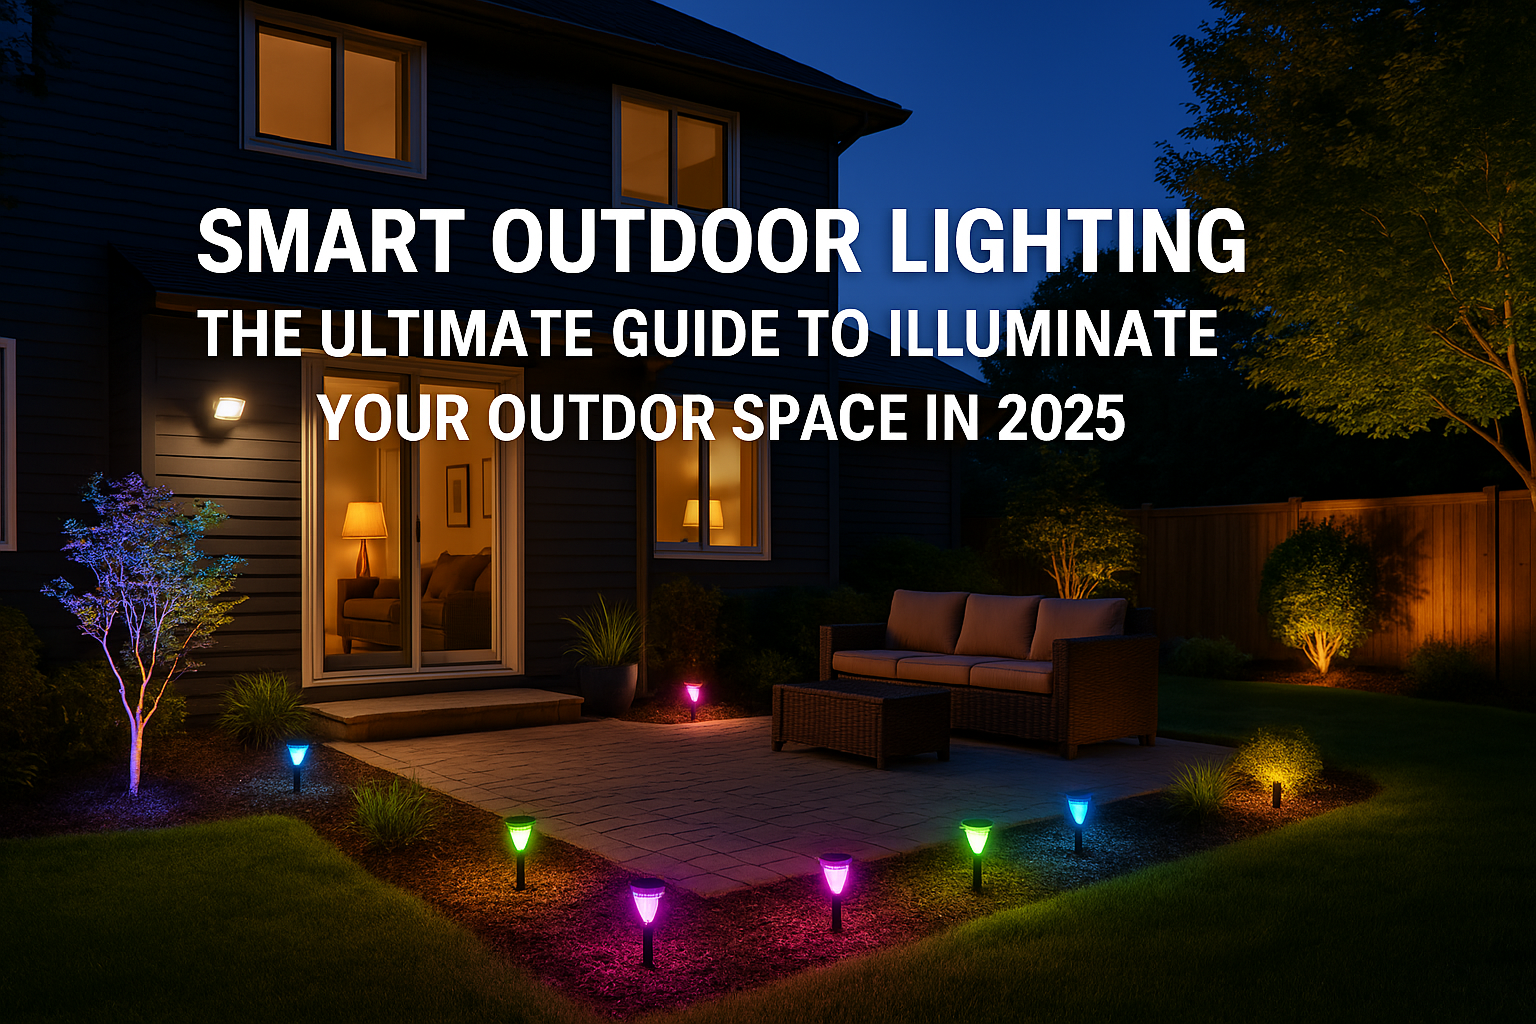
Garage / Outdoor Areas
Garages and outdoor spaces are often overlooked when it comes to smart lighting, but they’re where automation really shines.
- Install a sensor near the main garage door to activate the lights as you pull in or step out of your car.
- For outdoor areas like porches, patios, or gardens, place weatherproof motion sensors near pathways and entrances.
Automating outdoor lighting not only reduces energy use but also boosts security around your home.
Mistakes to Avoid
Even with the best intentions, improper light sensor placement can lead to inefficiencies. Here are some common mistakes to avoid and how to correct them:
- Placing Sensors Too High or Low
If a sensor is too high, it may miss lower-level motion (like pets or toddlers). Too low, and it could be triggered by unintended sources like shadows or drafts. Stick to that 6–8-foot guideline for optimal placement. - Ignoring Dead Zones
Every sensor has areas it can’t detect. Pay attention to blind spots and adjust the angle or supplement with additional sensors where needed. - Installing in Direct Sunlight
Ambient light sensors placed in direct sunlight may miscalculate brightness levels, leading to poor automation. Always test your placement under different lighting conditions. - Overloading a Single Sensor
Don’t expect one sensor to manage an entire area. If a room is large or has multiple sections, add secondary sensors for better coverage.
Final Thoughts
Strategically placing smart light sensors in your home creates a lighting setup that’s equal parts energy-efficient and convenient. Start small by focusing on one room, such as the living room or bedroom, and expand your automation as you become more familiar with smart home devices.
Click here to discover everything you need to know about smart light sensors and how they can transform your space into a smarter, more energy-efficient home.
FAQs
What is the ideal height to install a smart light sensor?
The ideal height is between 6–8 feet for optimal motion detection and ambient light monitoring.
Can I install smart light sensors outdoors?
Yes, but make sure to choose sensors specifically designed for outdoor use, as they’ll be weatherproof and more durable.
How many sensors do I need for an average-sized home?
It depends on your home’s layout. A typical home might need one sensor per main room, plus extra for hallways, garages, and outdoor areas. Aim for comprehensive coverage without overcrowding spaces.